An email drip is a series of thoughtful, targeted emails sent to customers or potential customers.
Drips are the heart of email marketing. They're also the most powerful way to turn your new audience into a high quality, engaged list.
They're built in advance and prepared in your Email Service Provider (ESP). When a new reader joins your list, the series of emails is sent to them across a set series of days.
In four steps, we'll show you how to set up a drip campaign in a popular ESP - MailChimp.
Before you build this drip, you'll want to make sure you have:
- Integrated DojoMojo and MailChimp
- Drafted the series of 5-6 emails you want to send your new audience - check out our Guide to Creating an Email Drip for Sweepstakes Entrants
1. Create the Series
Select Automation from the top Navigation bar

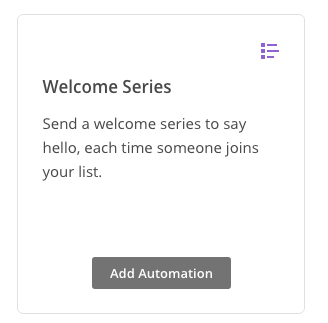
In the automation section, click on Welcome Series and select the list that your DojoMojo account is integrated with.

Click Design Email and add your emails to the series. You can design each email individually so that it matches your brand's look. For more information on how to design welcome drip emails, check out our guide to creating a welcome drip.

2. Create a Segment for your new DojoMojo leads
Segmentation allows you to control which users receive these emails. You can create different drip sequences depending on the origin of the subscriber. This builds trust and makes your emails seems more personalized. If you'd rather have only one, catch-all welcome drip, you can skip this step.

- Click edit next to "Filter by Segment or Tag" on your first welcome message (above)
- Check "Choose Segment or Tag"
- Select "Subscriber matches the following conditions"
- Contacts match all of the following conditions
- Campaign Name is not Blank
- Date Added is after your campaign's start date
If you acquire emails through other sources, you'll need to create different segments for each.
3. Add Merge Tags
Merge Tags allow you to automatically add personalized details like the name of the recipient or campaign name in the body of your email.
If desired, you can add additional segmentation criteria (such as campaign name) here as well. They are not necessary but can be a useful tool to build a more personalized drip.
For more information on what Merge Tags are and how to set them up, check out this MailChimp article.
4. Schedule Your Drip Emails
Set the schedule for each email in the series controls when the reader will receive your email. This is crucial to building a drip that lasts over a week.

- Click the Edit Schedule button to start creating a schedule. If you do not want to create a schedule, your drip will automatically send, regardless of which day of the week it is.
- Once you are on the Edit Schedule page, you can select the conditions you want to apply to your schedule.
- If you want, you can exclude weekends, days that you are already sending a blast to your list, etc. from the automation’s send schedule.
- This can be helpful if you have data suggesting people are less likely to open your emails on weekends or on days where you send other marketing emails.

5. Set your Email Triggers
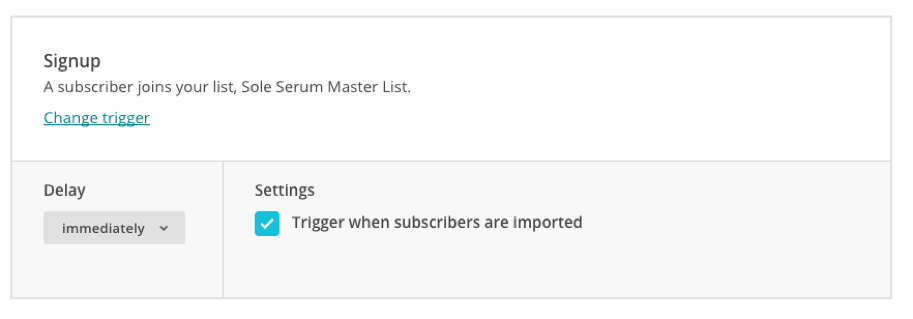
- Triggers are a necessary step that ensures your emails have proper spacing and that they follow one after another. Setting the triggers controls the length of time between each email in your series. To set the trigger, choose the delay you'd like to have after the previous email.
- An example of this is to create a trigger that sends your second email 3 days after the initial welcome email.
- You can also set the initial trigger. Subscribers will be automatically added to your drip, but you can edit that trigger so that they don't receive their first email until several days after they are added to your drip.


Congratulations! You've officially set up your first email drip in MailChimp. If you ever have any additional questions, you can always reach out to support@dojomojo.com.