1. Navigate to Sweepstakes Builder
Go to Sweepstakes > click the campaign tile you want to edit > Sweepstakes Builder > Customize
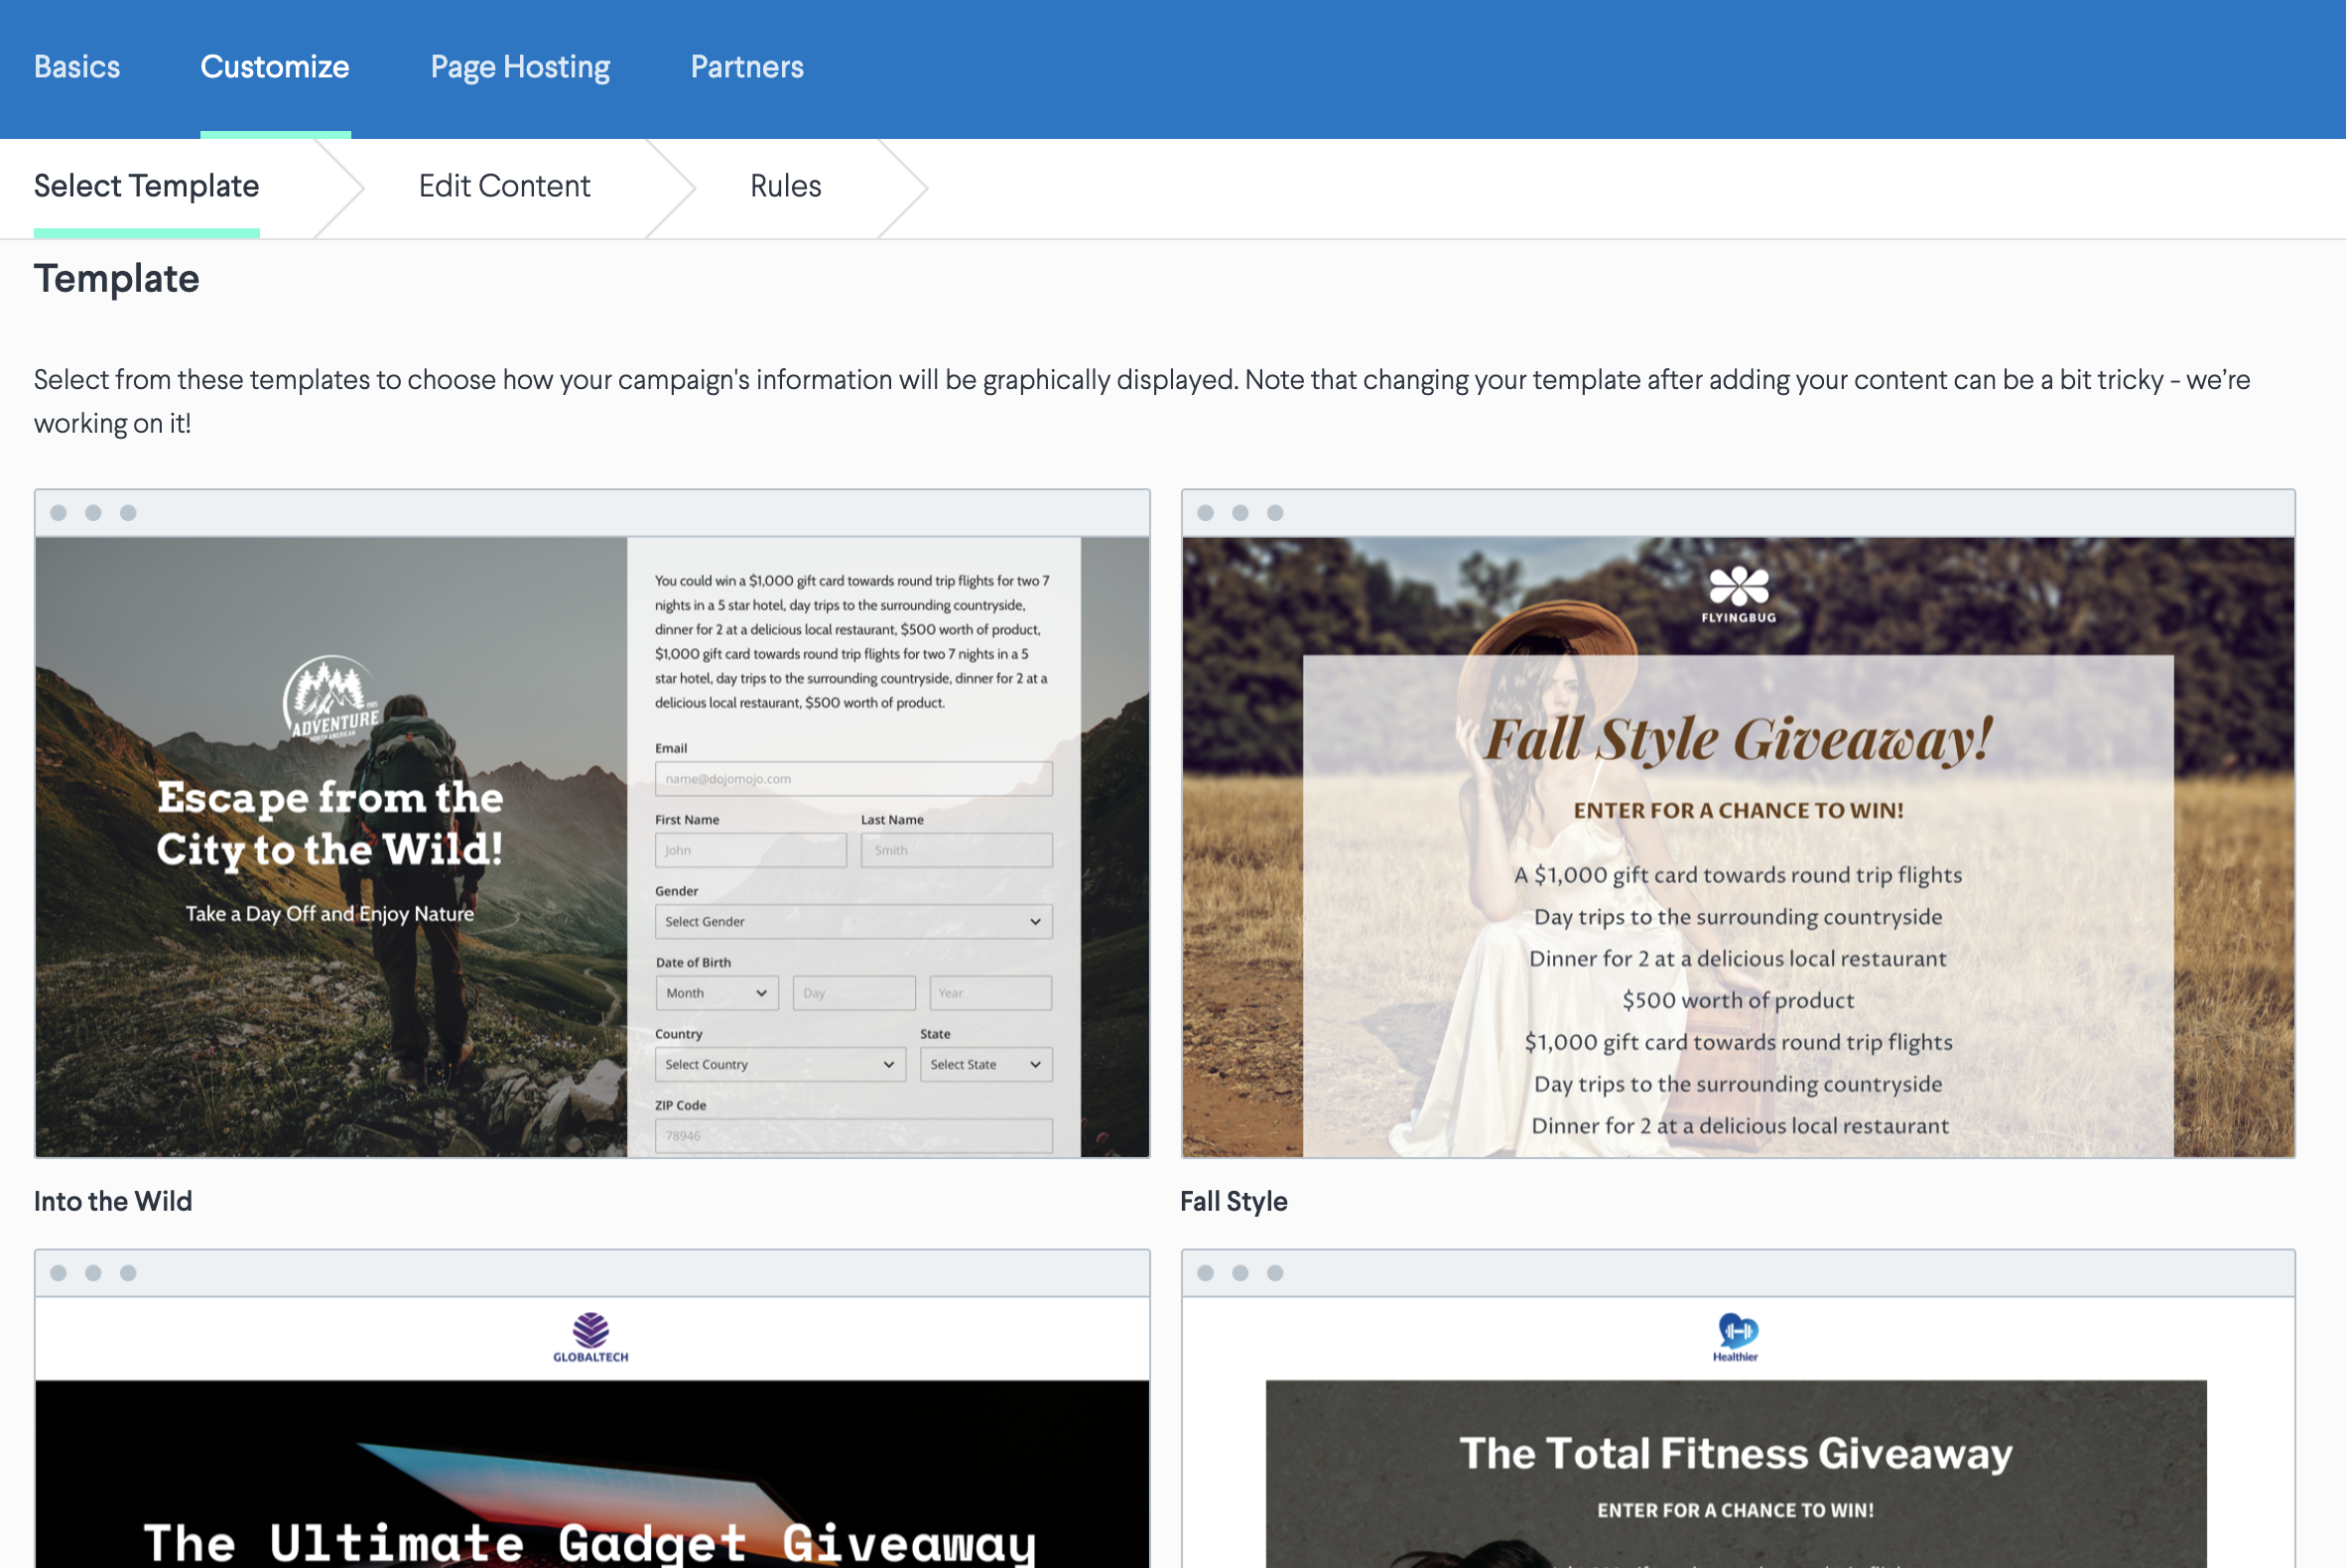
2. Select a Template
Select from one of DojoMojo's optimized templates to customize your landing page. These are just jumping off points, you'll be able to fully personalize templates with your imagery and text. Once you've found a template you like, click Select Template. Learn more about template options and image guidelines here.
3. Edit your Content
Add a background image
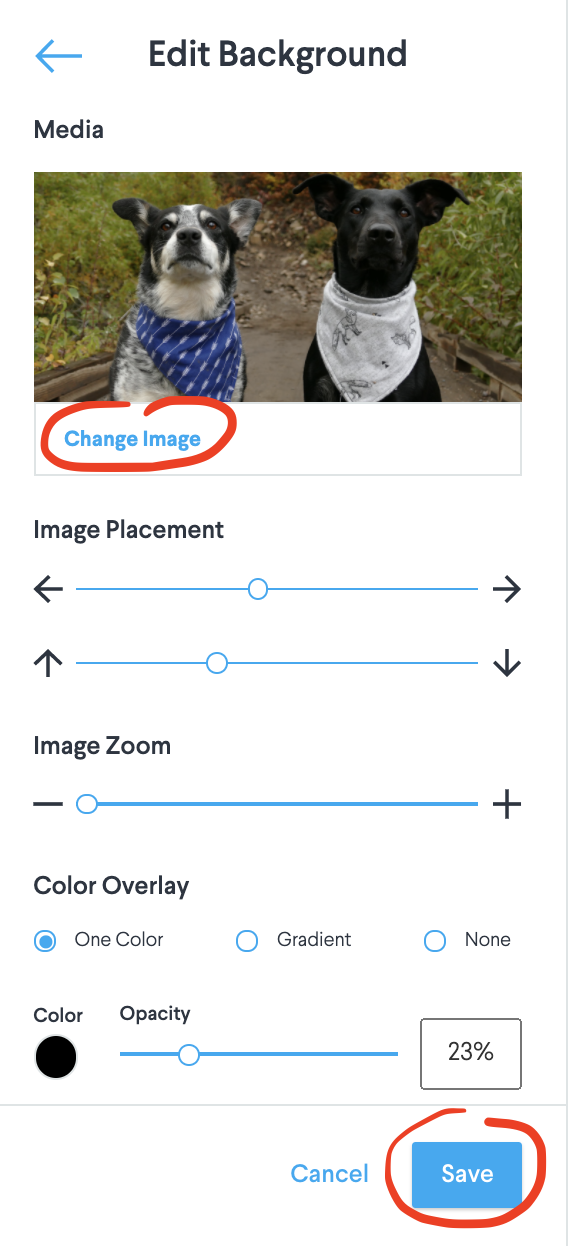
Get consumers excited with a vibrant image. Simply click Background and upload your artwork by clicking Change Image.
Note images must be smaller than 10megs. We recommend a minimum size of 1920x1080 for best results. Don't worry too much about size as the templates are highly responsive will automatically snap your image into place. Whenever you make changes to your background image, be sure to hit Save!
Your background can be edited at any point throughout the process, and can be updated even after the campaign goes live if needed.
4. Add your Text
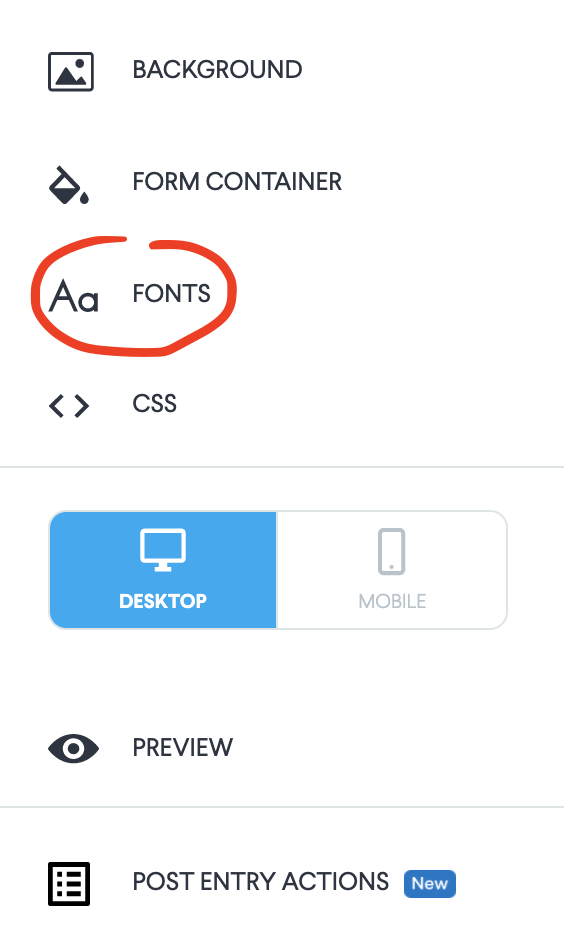
With DojoMojo, what you see is what you get. The text editor is a straightforward point-and-click process. Simply hover over the part of the page you want to edit and start typing. You can also edit fonts, colors, and formatting. You can add any Google Font by clicking Fonts on the left-hand side.
Most giveaways included a title or an attention grabbing headline. Use the space below to lay out exactly what they'll win.
5. Edit the Entry Field Form
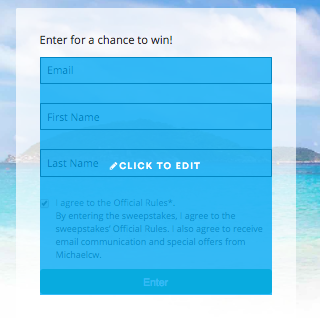
First-party data collection is a big part of the giveaway strategy. To select which fields you'd like to require upon entry to the giveaway, simply hover over the form fields.
Be sure to review the settings under Legal. This part contains the required legal language that let's giveaway entrants know what they're signing up for and that they're opting in to receive marketing communications from you and all your brand partners on the campaign. Here, you can choose to display the opt-in checkboxes by brand (each brand partner will have their own designated checkbox) or you can streamline this into one single line of text. You can elect to have these checkboxes pre-checked, or you can require entrants to check the boxes before entering.
No matter how you display this information, entry to the giveaway will not be permitted unless all checkboxes are checked.
6. Edit Logos
As the Host, your logo will automatically appear at the bottom of the landing page. If you're bringing on Partners, their logos will populate here once you've fully executed your Partnership Agreement. Logos pull directly from the logo uploaded in your brand profile.
Hover over the logos to edit their size, or if you have a prizing logo (e.g. a hotel partner that isn't on the DojoMojo platform), you can add it here. 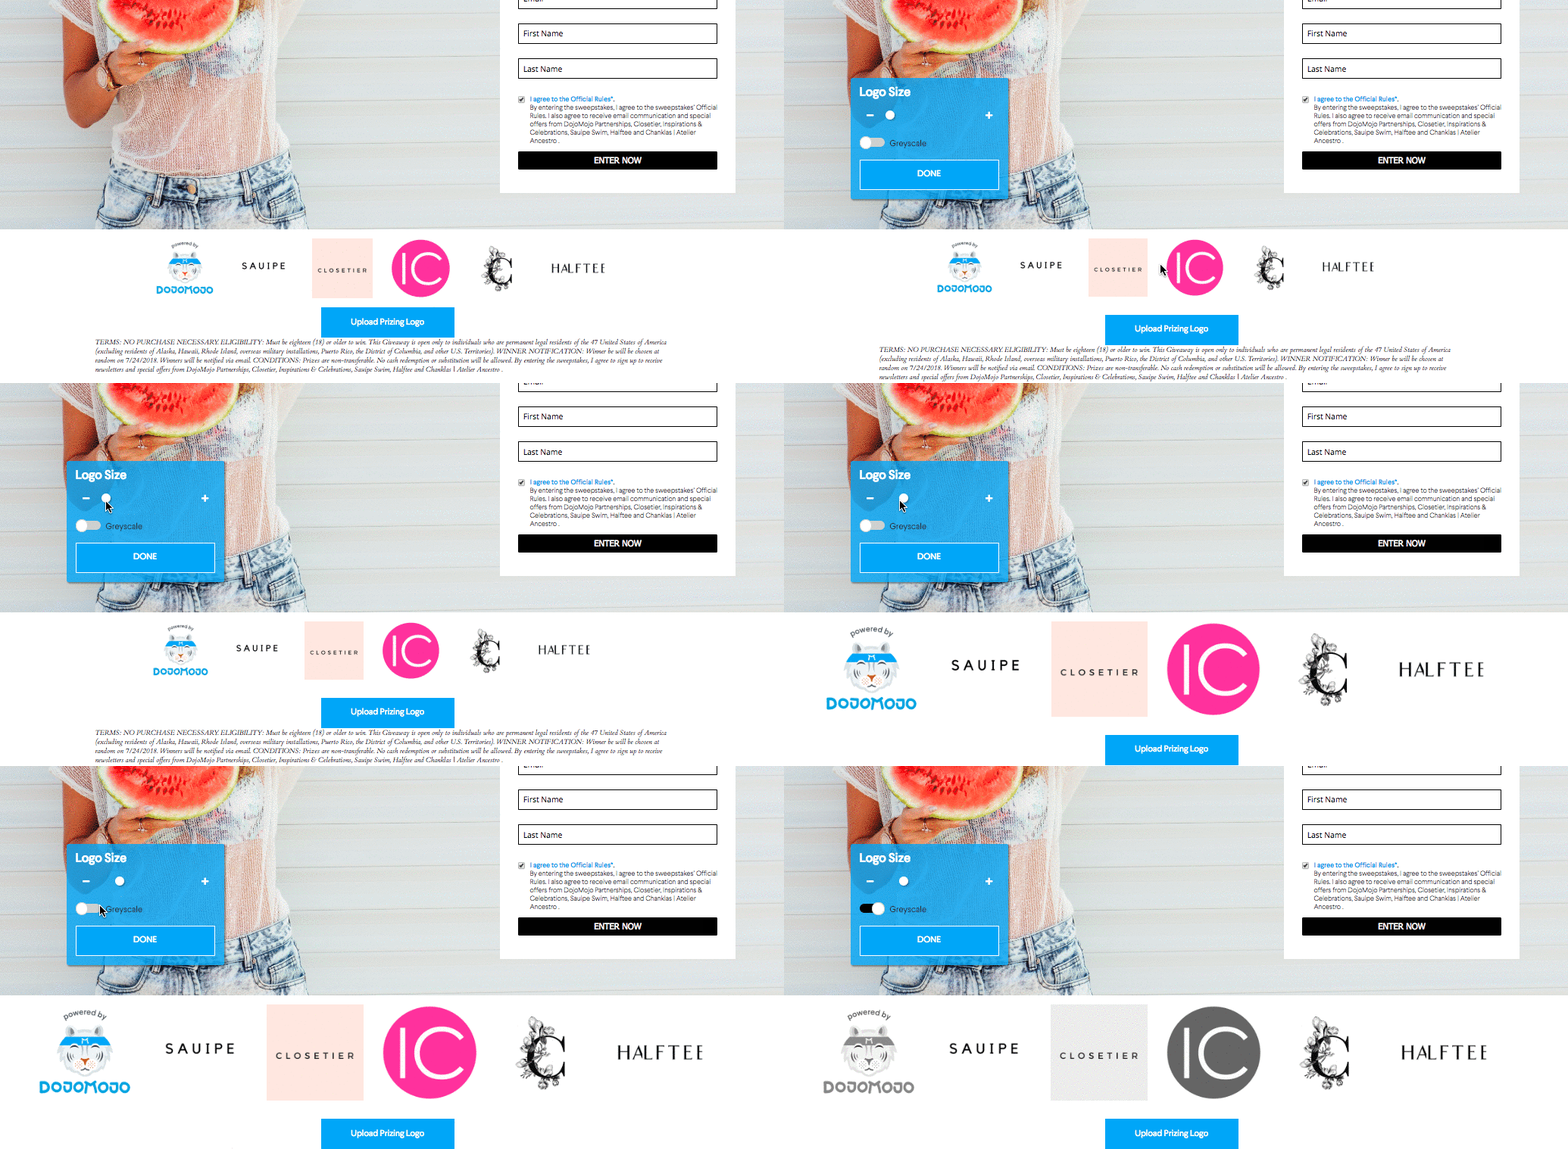
7. Finalize Disclaimer
A disclaimer appears at the very bottom of the page. Most of the time, this won't need to be updated all that much. However, you are able to customize it. If editing, we suggest seeking legal counsel.
You're welcome to use our US-focused sample language but keep in mind we'e not lawyers, so note that DojoMojo and Innovation Brands Corp cannot be held responsible for any disputes or issues that arise as result of using our draft disclaimer.
8. Optimize for Mobile
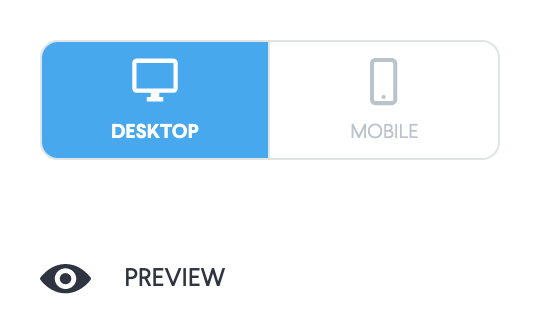
DojoMojo offers a Desktop and Mobile editor. Use the Mobile button to open the editor and customize the layout exclusively for mobile. Note that edits made on the Mobile editor will not change anything or carry over to the Desktop format.
9. Preview your Campaign
If you've made it this far, congrats! You're almost ready to launch your giveaway. Before you do so, make sure everything looks buttoned-up by hitting the Preview button. What you see will be exactly what consumers will see. Be sure to toggle back and forth between mobile and desktop to see how the page appears in both formats (and edit accordingly).
Looking for more info?
Check out our tips for how to curate high-quality email and SMS lists with giveaways.