This guide will walk through the process of installing your signup form to a Wordpress-powered website.
NOTE: You’ll need website admin or editor access as you will need to edit your site's code base. If you’re not sure how to access your website’s code, you may need to consult your website software’s support documentation.
Locate Your Form's JS Snippet
Access your signup form’s JavaScript code snippet by navigating to the Install section in the form builder. Your form’s snippet will be automatically generated when you save your form. Click Copy Code to copy the snippet to your clipboard.
Paste the Snippet into Wordpress
- Log into WordPress. You will need to add code into the header of your website, typically managed by a Head/Footer plugin.
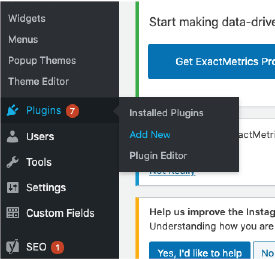
To add the plugin to your website, navigate to Plugins in the left menu. Select Add New.
If you already have a Head/Footer plugin installed, skip to Step 4.
- Scroll down and find the search bar for new plugins. Search for "header."
There are many options. We suggest using the free plugin named Head, Footer and Post Injections. This guide uses this specific plugin as an example. However, many other Head/Footer plugins will function similarly.
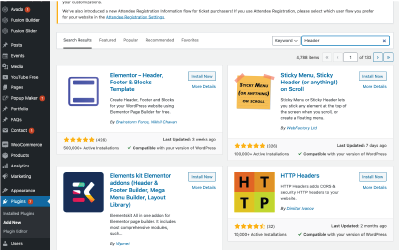
- Click Install Now to add the plugin.
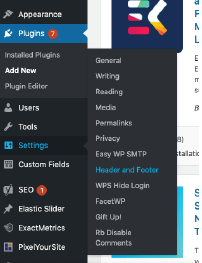
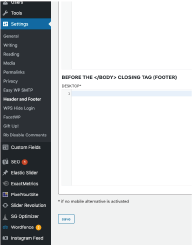
- Once installed, find the Settings in the left menu. Look for the Plugins option and find the Header and Footer section.
- Find the area to update the HTML <head> element. Return to the window with the DojoMojo Form Builder to grab the pop-up code. Paste the DojoMojo form code directly into the Header Section. Note that the code in this screenshot is sample code only.
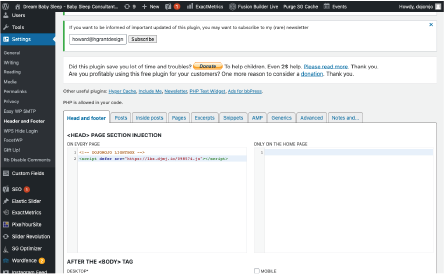
- Scroll down to the bottom of the page and hit Save.
You should now be able to test your DojoMojo form by visiting your website's homepage. Keep in mind that pop-up forms are cookie-based and are designed to display only to first-time website visitors. To test a pop-up multiple times, we recommend using a fresh Incognito browser session for each test.